Lighting
Home Lighting Design Guide Hong Kong: Planning, Types & Tips
Published: 2026-08-17 · Updated: 2026-08-17 · 6 min read
TL;DR
How to design lighting that's both beautiful and practical? A clear guide to layering ambient, indirect and accent lighting so your home feels right day and night. Use the practical checkpoints below to separate a low-risk next step from work that needs a qualified professional. Keep a written record of the scope, timing and any change agreed on site.
Material decision checklist
| Decision point | Compare | Confirm before order |
|---|---|---|
| Daily use | Moisture, heat and impact resistance | The exact product code and installation method |
| Health and maintenance | Cleaning needs, emissions information and lifecycle | Care instructions and replacement availability |
| Budget | Installed cost, not material price alone | Hardware, trims, delivery and remedial work |
Visual repair guide


Many people just fit one big ceiling light and call it done — leaving the home flat, layerless and atmosphere-free. Lighting is actually the soul of spatial mood, and a good lighting design can completely transform how a space feels. According to the Interior Design Association, over 70% of homeowners are dissatisfied with their lighting after moving in, mainly because they didn't plan it carefully during renovation. This guide teaches layered lighting to lift your home from merely 'bright' to 'atmospheric'.
1. The three-layer concept: Foundation of professional lighting design
Professional lighting design usually has three layers, each with different functions and effects:
| Lighting Layer | Function | Common Fixtures | Suitable Scenes |
|---|---|---|---|
| Ambient | Provide overall even illumination | Downlights, ceiling lights, panel lights | All spaces |
| Indirect | Create soft atmosphere | LED strips, recessed linear lights | Living room, bedroom, corridor |
| Accent | Highlight specific areas or objects | Spotlights, track lights, wall lights | Artwork, displays, workstation |
Combined, the space gains depth and layering. Relying on a single overhead light gives even illumination but no shadow variation, making the space feel flat and boring. Three-layer lighting creates 'light-dark contrast' that adds dimensionality.
2. Choosing colour temperature: The key to atmosphere
Colour temperature directly shapes mood — choosing wrong makes a space feel very uncomfortable:
| Temperature Range | Feel | Suitable Spaces | Common Uses |
|---|---|---|---|
| 2700K-3000K (Warm) | Cosy, relaxing | Living room, bedroom, dining | Daily rest, dining |
| 3500K-4000K (Neutral) | Clear, natural | Kitchen, study, bathroom | Work, reading, makeup |
| 5000K-6500K (Cool) | Bright, energising | Office, garage | High-focus tasks |
Use consistent colour temperature within the same space to avoid visual chaos. For example, all 3000K in the living room, all 4000K in the kitchen — don't mix different temperatures in the same room.
3. Using dimming and zoned switching
Dimmer switches let you adjust brightness by time and occasion — bright for daytime work, soft for evening relaxation, one space many uses. Zoned switching is practical too: no need to light the whole home, saving energy and adding mood.
We recommend at least 2-3 lighting circuits per space: one controlling ambient, one controlling indirect, one controlling accent. If budget allows, install dimmers in the living room and bedroom for fine-tuning light intensity. OmniFix Decoration plans light positions and circuits around your lifestyle for both function and beauty.
4. Room-by-room lighting recommendations
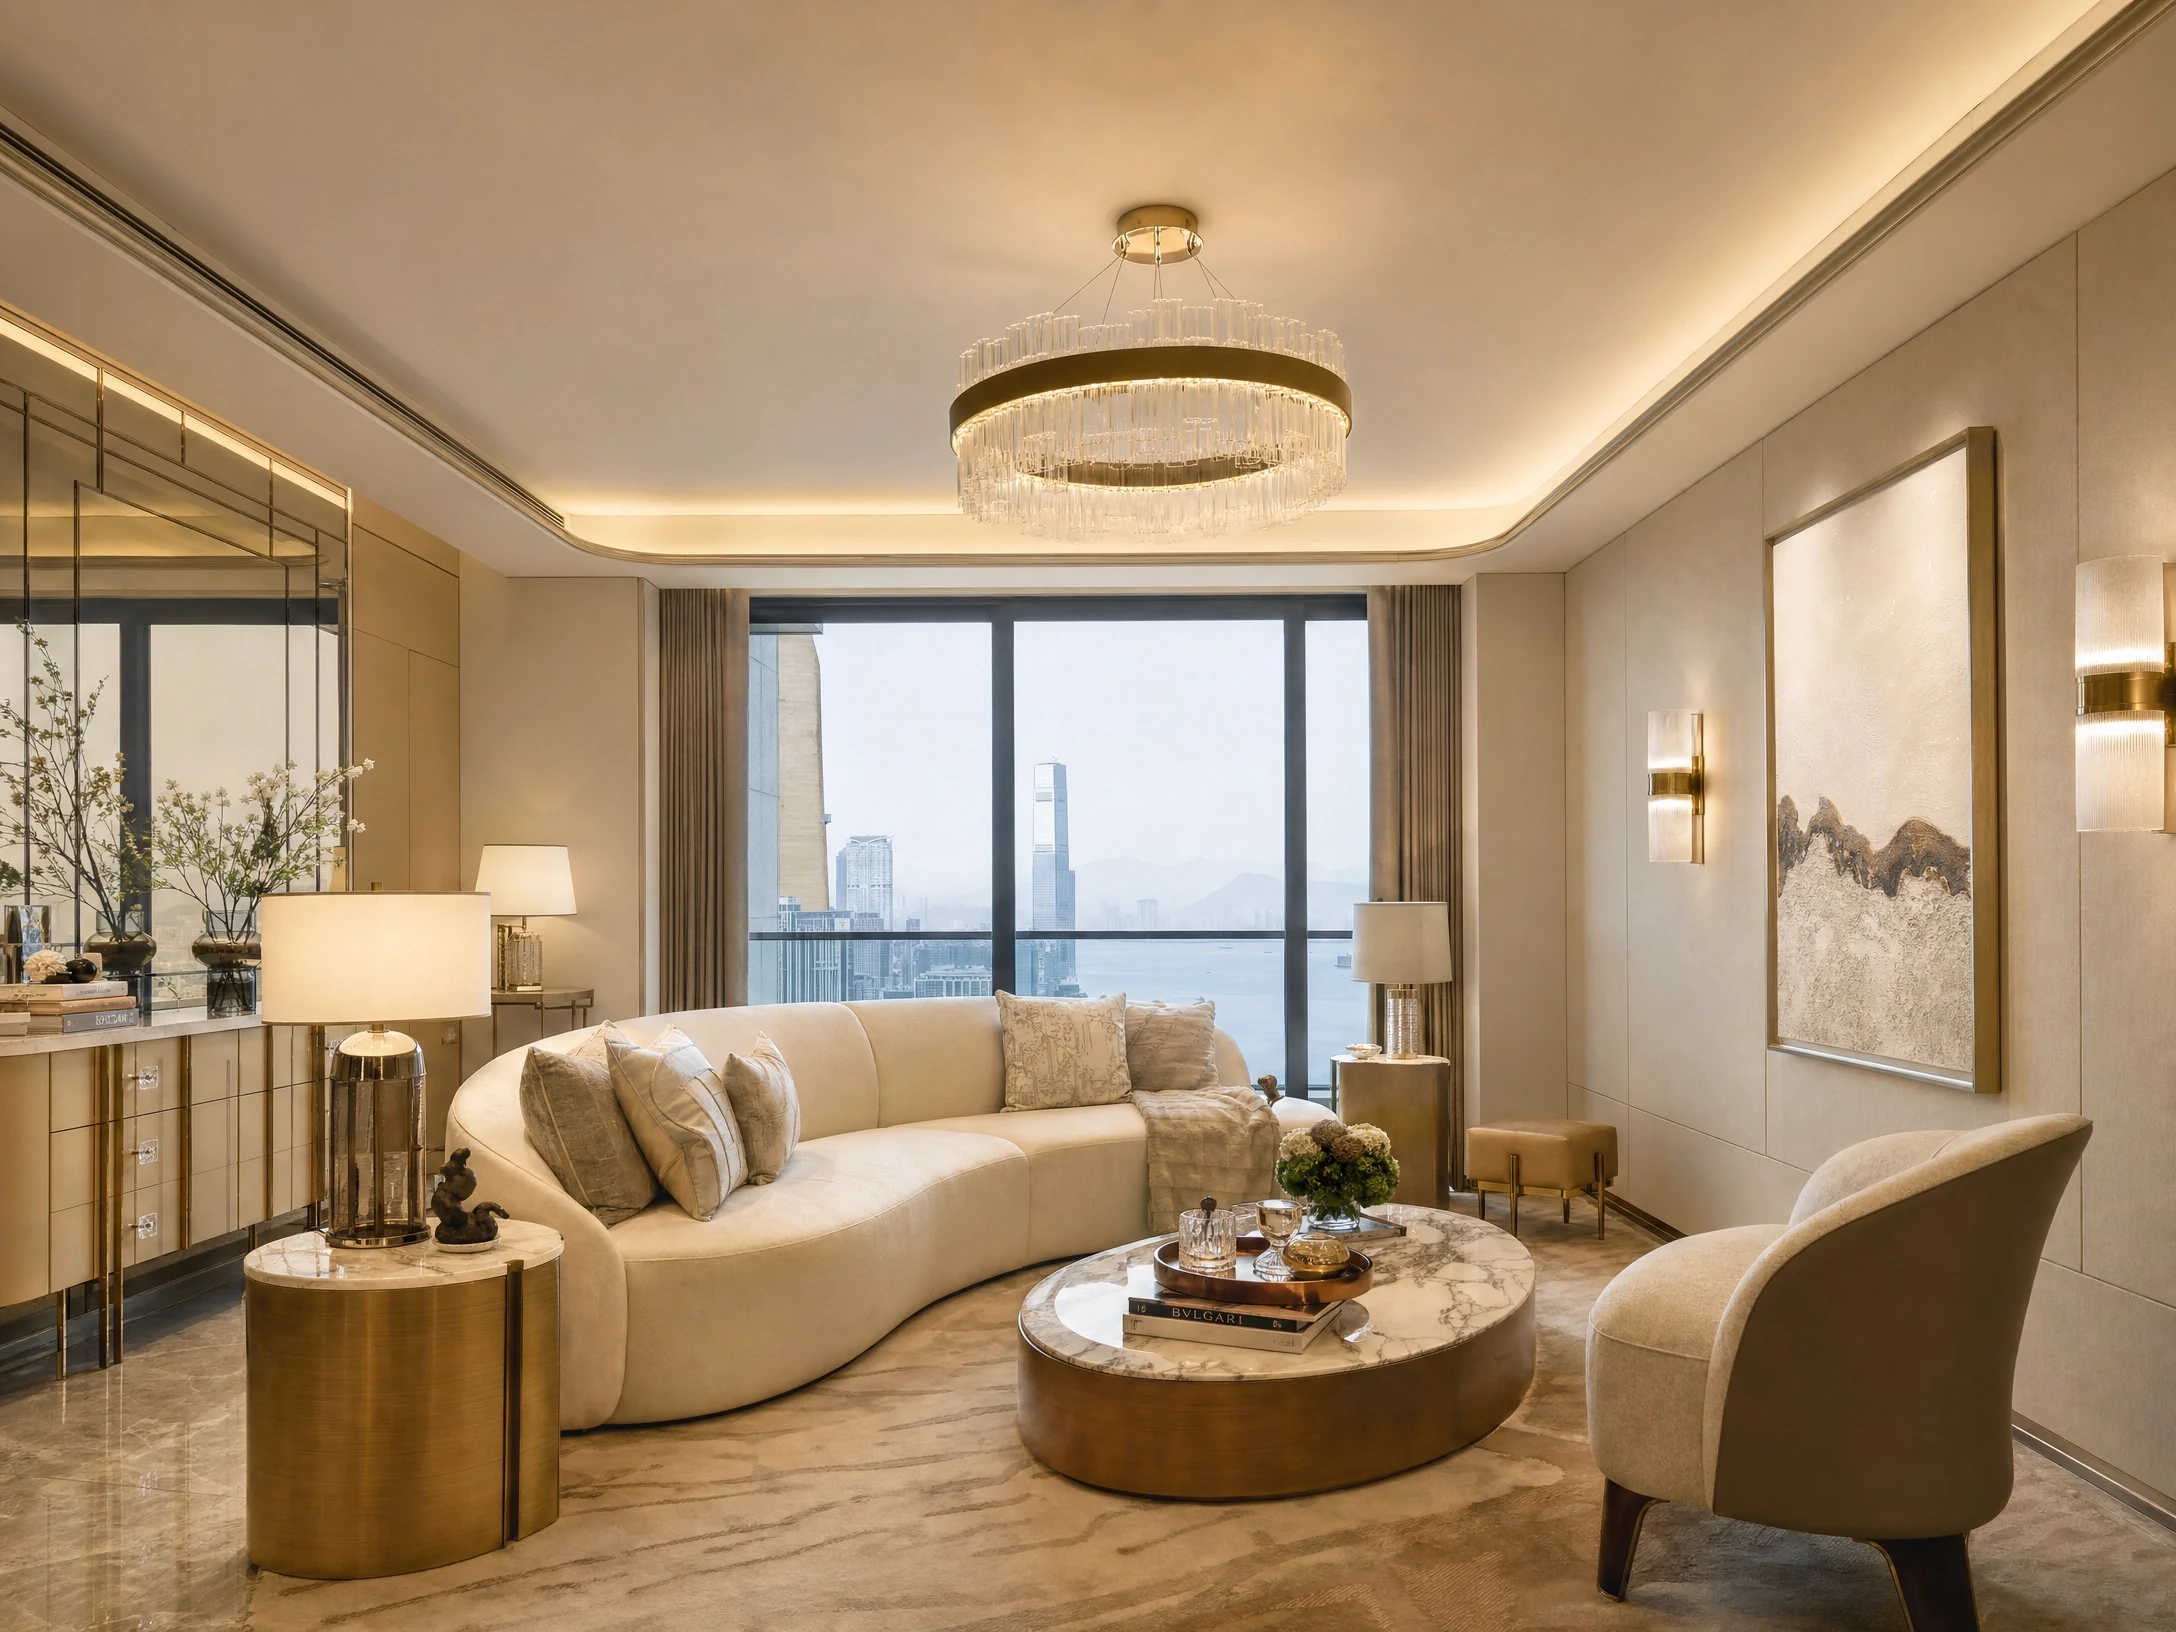
Different spaces have different lighting needs. Our recommendations: Living room — indirect lighting as the main source, with downlights for base illumination and spots to highlight artwork or displays. Bedroom — avoid strong light directly hitting eyes, use strips plus bedside wall lights for a relaxing atmosphere. Kitchen — countertops need ample light, install strips or downlights under wall cabinets to avoid standing at the counter with your back to the light. Bathroom — mirror lights are essential (for makeup, shaving), recommend 4000K neutral light.
5. Plan lights at the design stage
Light positions, switches and circuits involve wiring and must be planned before electrical works — changes later are costly. So during 3D design, think through what lighting each space needs, where to put strips and where to put spots, to avoid regrets.
Common mistakes include: switch positions that don't make sense (e.g. bedside switch installed at the foot of the bed), insufficient socket provision (can't add lights later with nowhere to plug in), not pre-wiring for dimmers (have to re-wire later to install dimmers). Discuss these clearly with your designer at the design stage to avoid future regret.
6. Fixture purchasing tips
First, look for brands and certifications — quality fixtures should have relevant safety certifications (e.g. CE, UL), avoid no-brand products. Second, note the Colour Rendering Index (CRI) — higher CRI means more accurate colour reproduction, recommend CRI ≥90. Third, consider maintenance convenience — recessed downlights look clean but are harder to replace; surface-mounted track lights are easier to adjust and swap. Fourth, don't just look at price — cheap fixtures may have faster lumen depreciation and fragile drivers, costing more long-term.
7. Summary: Lighting is the lowest-cost way to upgrade living quality
Compared to changing furniture or flooring, adjusting lighting is the lowest-cost but most impactful way to upgrade a space. With proper planning, the same space can present completely different atmospheres at different times. If you want more layered, atmospheric lighting at home, contact OmniFix Decoration. Our designers will create a tailored lighting plan based on your space and lifestyle. WhatsApp free consultation: 9290 2652.
Optimizing Lighting Layouts for Compact Hong Kong Apartments Designing lighting for typical Hong Kong residential spaces requires careful balancing of spatial constraints, low headroom, and multi-functional zoning. Many local apartments feature relatively low ceilings, which are often further restricted by concealed structural beams, air conditioning ductwork, or fire services pipework. Therefore, rushing into a uniform grid of recessed downlights can easily create an uneven, claustrophobic atmosphere. Instead, planning your lighting schema should begin with mapping out actual furniture placement and specific functional zones rather than relying solely on room perimeters. Deciding precisely where you will read, dine, or prepare meals ensures that task lighting aligns with daily activities without casting awkward shadows from overhead fixtures. Furthermore, incorporating layered lighting such as indirect pelmet lights and adjustable spot fittings can visually expand compact rooms. ### Common Mistakes in Electrical Positioning and Circuit Zoning One frequent pitfall during renovation planning is finalizing light switch locations and wiring circuits before confirming exact door swing directions and built-in carpentry dimensions. When tall wardrobes or sliding doors are installed on site, they frequently end up blocking crucial wall switches or dimmers, leading to costly and disruptive rewiring work. Another common oversight involves neglecting driver accessibility for custom LED strip lighting. If power supplies and LED drivers are concealed deep within inaccessible false ceiling cavities without a designated inspection hatch, replacing a failed component later requires dismantling custom carpentry or plasterboard. Establishing a clear communication record and detailed floor plans with your electrician regarding switch heights, circuit grouping, and driver locations during the initial wiring phase prevents these costly site errors. ### Practical Site Checklist for Lighting Installation Before your electrical contractor proceeds with final fixture installation and panel wiring, complete a rigorous site walk-through to verify every detail. First, test all two-way switching configurations in corridors and bedrooms to ensure smooth operation from multiple access points across the flat. Second, check the color temperature consistency across adjacent living and dining areas to avoid jarring visual discrepancies between warm and cool tones. Third, confirm that dimmer switches are explicitly compatible with your chosen LED lamps to eliminate annoying flickering or buzzing sounds during operation. Finally, ensure all exposed fixtures in humid zones comply with relevant clearance standards and moisture protection ratings, securing a safe, durable, and comfortable home environment. <!-- P2-CONTENT-EXPANSION -->
Official reference
Check the official EPD resource for Hong Kong environmental information relevant to material selection and disposal.
About the author
OmniFix Design Team
Frequently asked questions
Do LED strips fail quickly?
Quality LED strips can last 30,000-50,000 hours (about 8-14 years of daily use), but mind heat dissipation and driver quality. Choose reputable brands and ensure installation locations have adequate ventilation.
How much does lighting design cost?
Depends on unit size and design complexity. For a typical 300-500 sqft unit, fixtures plus installation costs about $15,000-$40,000, including downlights, strips, spots and switch panels. Higher-end brands or custom fixtures will increase the budget.
Can I improve atmosphere by just changing lights without redoing the ceiling?
Yes. Without major works, consider: switching to dimmable bulbs, adding surface-mounted track lights, or installing sensor strips under cabinets. These don't require ceiling demolition but can noticeably improve spatial atmosphere.