Waterproofing
Bathroom Waterproofing Hong Kong: Complete Guide, Methods & Cost 2026
Published: 2026-08-17 · Updated: 2026-08-17 · 5 min read
TL;DR
Poor waterproofing causes endless trouble. A clear guide to bathroom, kitchen and balcony waterproofing — and why it's the one thing you should never cut. Use the practical checkpoints below to separate a low-risk next step from work that needs a qualified professional. Keep a written record of the scope, timing and any change agreed on site.
Material decision checklist
| Decision point | Compare | Confirm before order |
|---|---|---|
| Daily use | Moisture, heat and impact resistance | The exact product code and installation method |
| Health and maintenance | Cleaning needs, emissions information and lifecycle | Care instructions and replacement availability |
| Budget | Installed cost, not material price alone | Hardware, trims, delivery and remedial work |
Visual repair guide

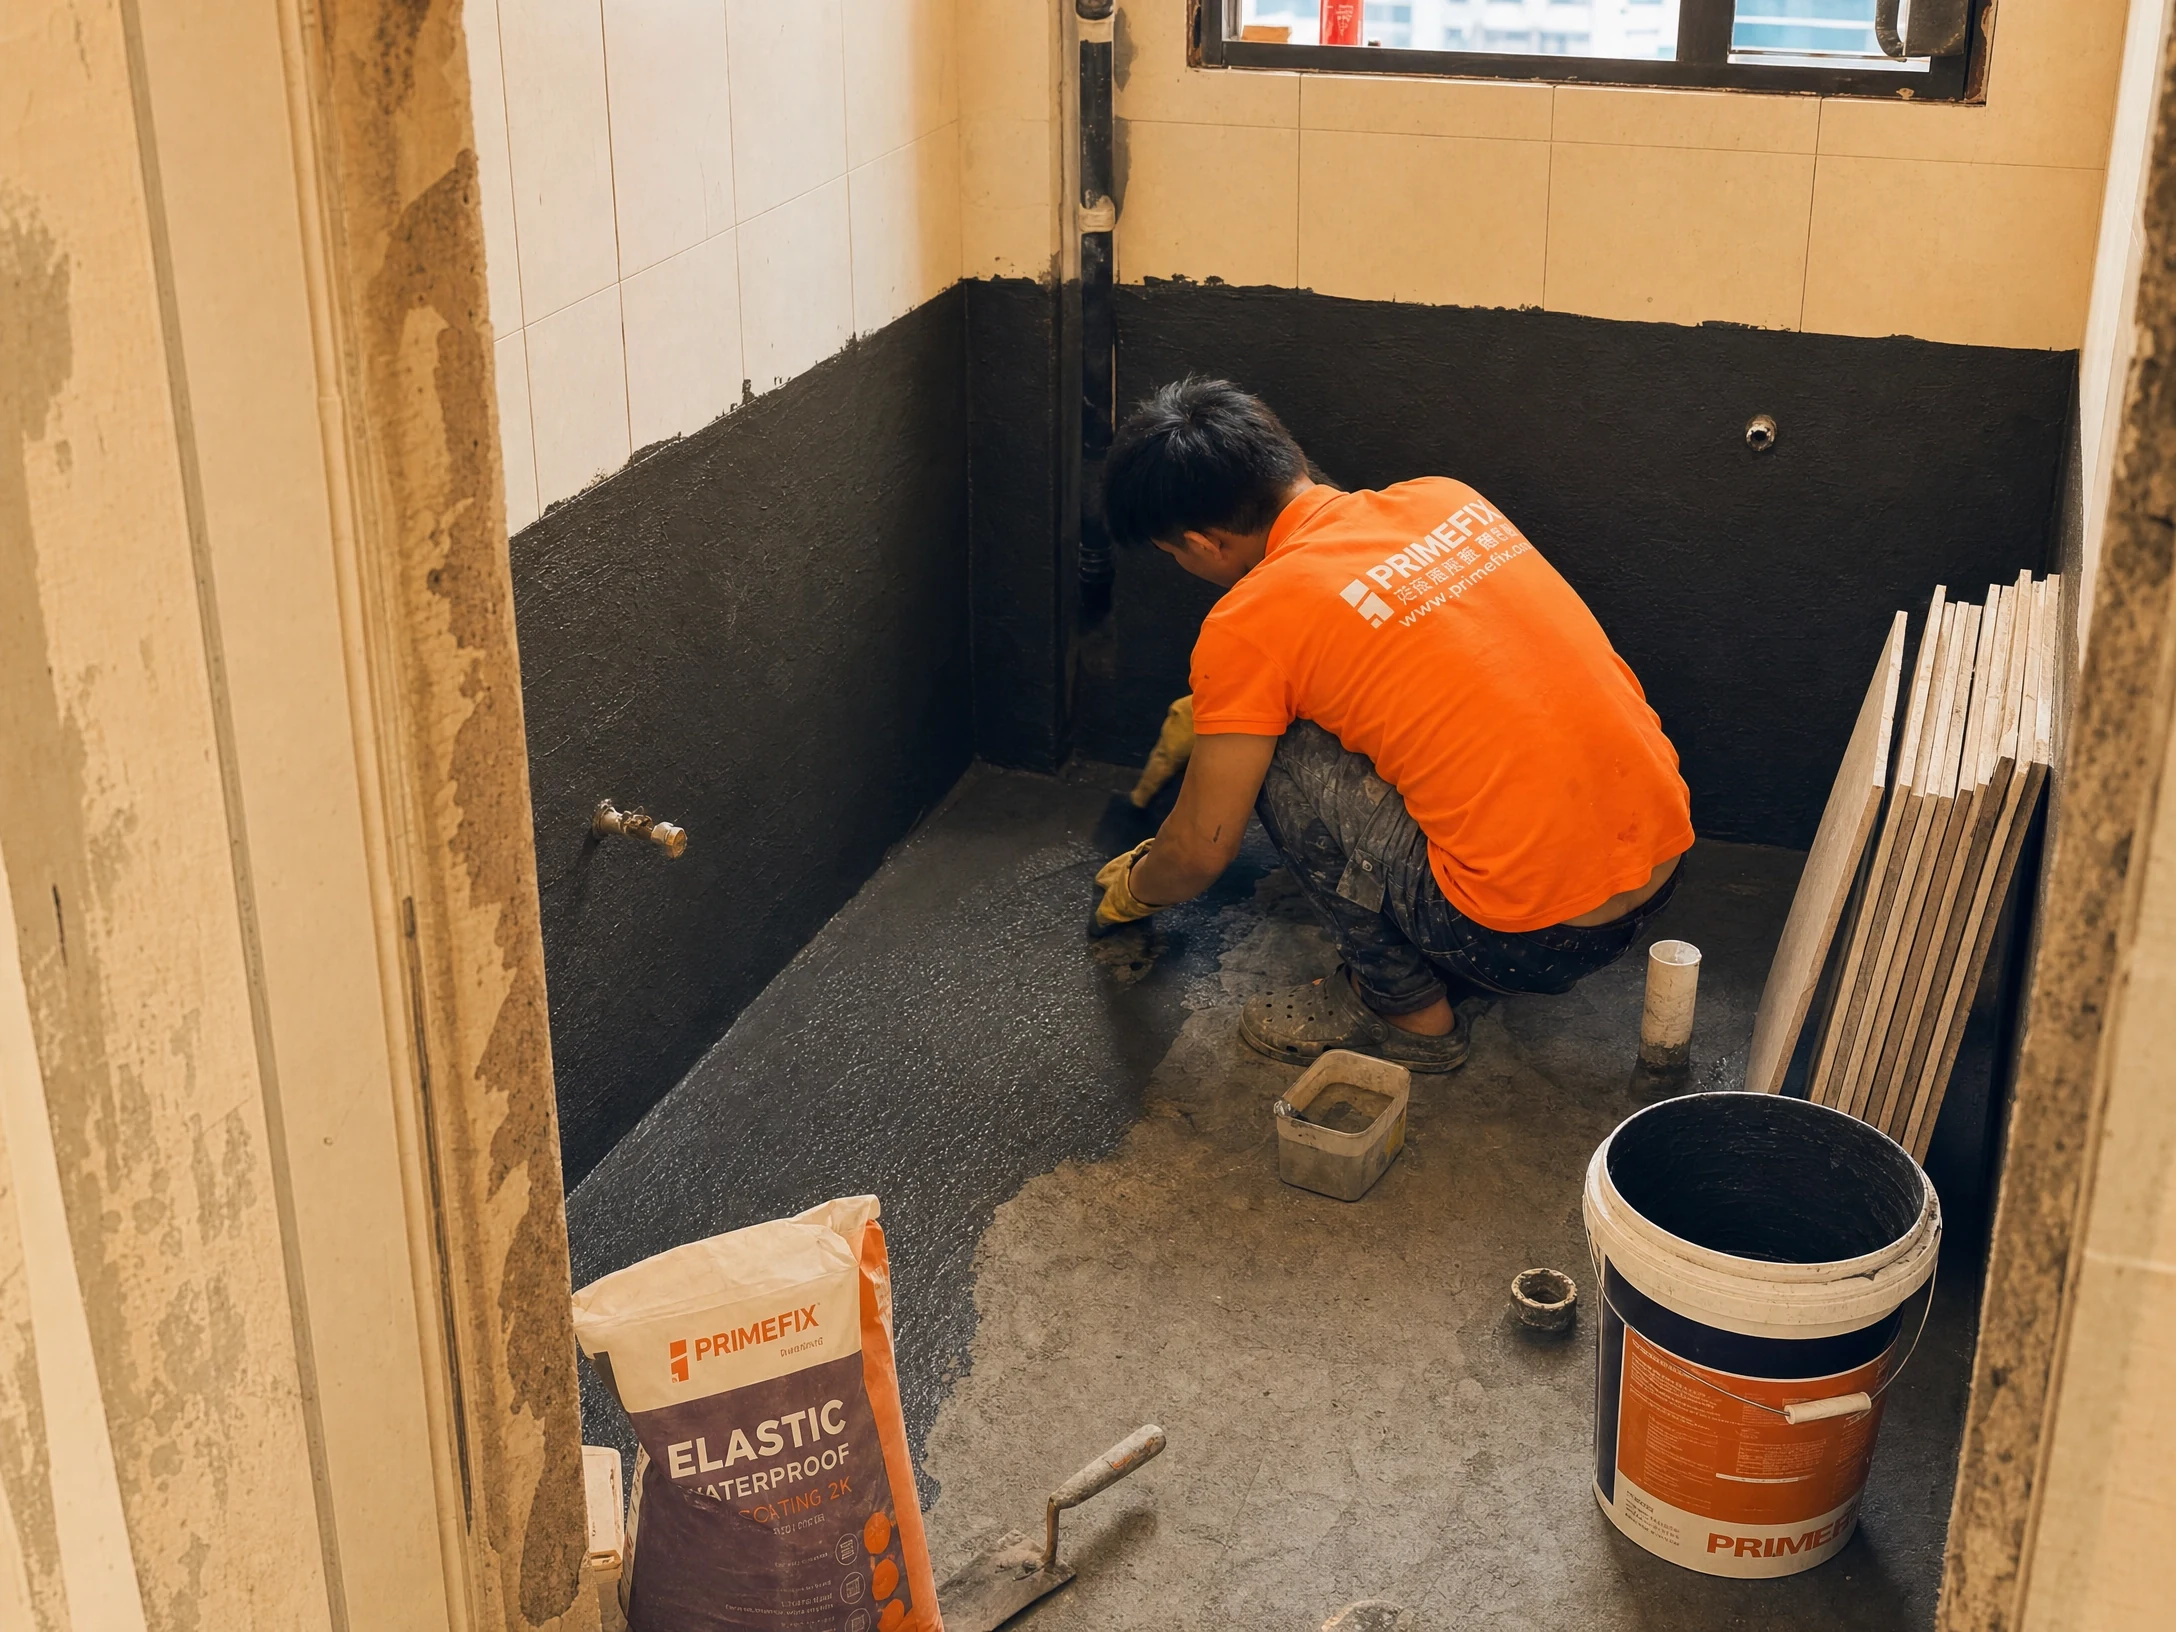
Among renovation trades, waterproofing is the least visible but the most unforgiving. According to the Hong Kong Institute of Surveyors, building seepage complaints exceed 30,000 cases annually, with most originating from improper waterproofing during renovation. Get it wrong and at best your own unit moulds and walls blister; at worst you leak into the flat below, with compensation and repair costs far exceeding any saving. This guide comprehensively explains how to do it right, including material selection, construction standards and inspection methods.
1. Where waterproofing is essential
Toilets and bathrooms are the worst-hit zones — both floors and walls must be done. Per industry standards, bathroom wall waterproofing should reach at least 1.8m height (shower area) and at least 30cm in non-shower areas. Kitchens, laundry areas, balconies and window sills that frequently meet water or rain also require waterproofing.
| Location | Waterproofing Scope | Recommended Height | Importance |
|---|---|---|---|
| Bathroom shower area | Floor + walls | Full floor + walls 1.8m | Highest |
| Bathroom non-shower | Floor + walls | Full floor + walls 30cm | High |
| Kitchen | Floor + sink wall | Full floor + walls 30cm | High |
| Balcony | Floor + wall base | Full floor + wall base 20cm | Medium-high |
| Window sill | Around frame | 15cm beyond frame | Medium |
After a new membrane is laid, a 'ponding test' must confirm no leakage before tiling. This step must never be skipped.
2. How to choose waterproofing materials
Common waterproofing materials each have pros and cons — choosing wrong is a frequent cause of future leaks:
| Material Type | Suitable Location | Pros | Cons | Approx. Cost |
|---|---|---|---|---|
| Cementitious slurry | Bathroom, kitchen | Strong bond to masonry | Lower flexibility | $30-50/sqm |
| Polyurethane coating | Balcony, roof | Good flexibility, weather-resistant | Needs primer | $60-100/sqm |
| Acrylic membrane | Walls, window sills | Easy application, quick-dry | Average abrasion resistance | $40-70/sqm |
| Self-adhesive sheet | Large floor areas | Uniform thickness, reliable | High skill requirement | $80-120/sqm |
Choice depends on location and substrate. Generally, cementitious slurry is recommended for bathrooms (strongest bond to tiles), polyurethane for balconies (best weather resistance). OmniFix Decoration recommends the most suitable material combination based on your actual environment.
3. Standard waterproofing construction process
Correct waterproofing construction should follow these steps: First, substrate preparation — remove all dust, oil and loose material, ensuring the surface is flat and dry. Second, corner reinforcement — all wall corners and drain surrounds get waterproof tape or thickened coating, as these spots crack most easily. Third, first coat — apply evenly with roller or brush, about 0.5-1mm thick. Fourth, drying — typically 4-6 hours depending on weather and material. Fifth, second coat — perpendicular to the first to ensure no gaps. Sixth, curing — wait at least 24 hours before ponding test.
The most common workmanship errors are: coating too thin (should be at least 1.5mm total), applying the second coat before the first dries, and not reinforcing corners. These are the main causes of future leaks.
4. How to conduct a ponding test
After the membrane is done, the proper method is to seal all drains, pond water for at least 24-48 hours (about 3-5cm deep), then check the ceiling below for seepage and your own wall bases for damp marks. This test is key to quality — never skip it to rush the schedule.
During the test, record: start time, water level, water level change after 48 hours, and condition of the ceiling below (photograph for evidence). If seepage is found, locate the leak point, repair and retest until fully passed. OmniFix Decoration arranges a ponding test after waterproofing, confirms integrity before the next trade, and provides a test report for the owner's records.
5. How serious is leak compensation?
Once you leak into the flat below, consequences can be severe. Under the Food and Environmental Hygiene Department's seepage complaint procedures, if the source is confirmed as your unit, you bear: compensation for the downstairs owner's renovation damage (potentially tens to hundreds of thousands), reopening your own floors or walls to find the source ($20,000-$50,000), re-waterproofing and re-tiling ($15,000-$30,000), plus time costs and damaged neighbour relations.
So it's far better to do waterproofing fully from the start than to patch up afterwards. Spending a few thousand more on proper waterproofing can avoid tens or even hundreds of thousands in future losses.
6. Special considerations for old building renovation
If you're renovating an old building, waterproofing needs extra attention. The existing membrane may have degraded, and concealed pipes may have hidden leaks. When renovating: first, thoroughly inspect the existing waterproofing condition; second, if the original membrane has degraded, it must be removed and redone rather than covered over; third, check all concealed pipes for leaks; fourth, pay special attention to window sills and external wall junctions — these spots are most problematic in old buildings.
7. Summary: Waterproofing is the most worthwhile renovation investment
Waterproofing accounts for a small proportion of the overall renovation budget (typically 5-8%), but if problems arise, repair costs can be 5-10 times the original. So we strongly recommend: don't skimp on waterproofing, don't skip the ponding test, and choose a reputable construction team. OmniFix Decoration performs all waterproofing to the highest industry standards, provides ponding test reports, and offers warranty coverage. For any waterproofing questions, WhatsApp free consultation: 9290 2652.
Official reference
Check the official EPD resource for Hong Kong environmental information relevant to material selection and disposal.
About the author
OmniFix Waterproofing Team
Frequently asked questions
How long does waterproofing last?
Well-done waterproofing generally lasts 10-15+ years, but actual life depends on material quality, workmanship and daily use. We recommend annual checks of bathrooms and kitchens for seepage signs — early detection means early resolution.
How much does waterproofing cost?
Depends on area and material choice. A typical bathroom (about 4-6 sqm) including labour and materials costs about $3,000-$8,000; whole-flat waterproofing (bathroom + kitchen + balcony) about $8,000-$15,000. Exact quotes require on-site measurement.
How to tell if my home has a leak?
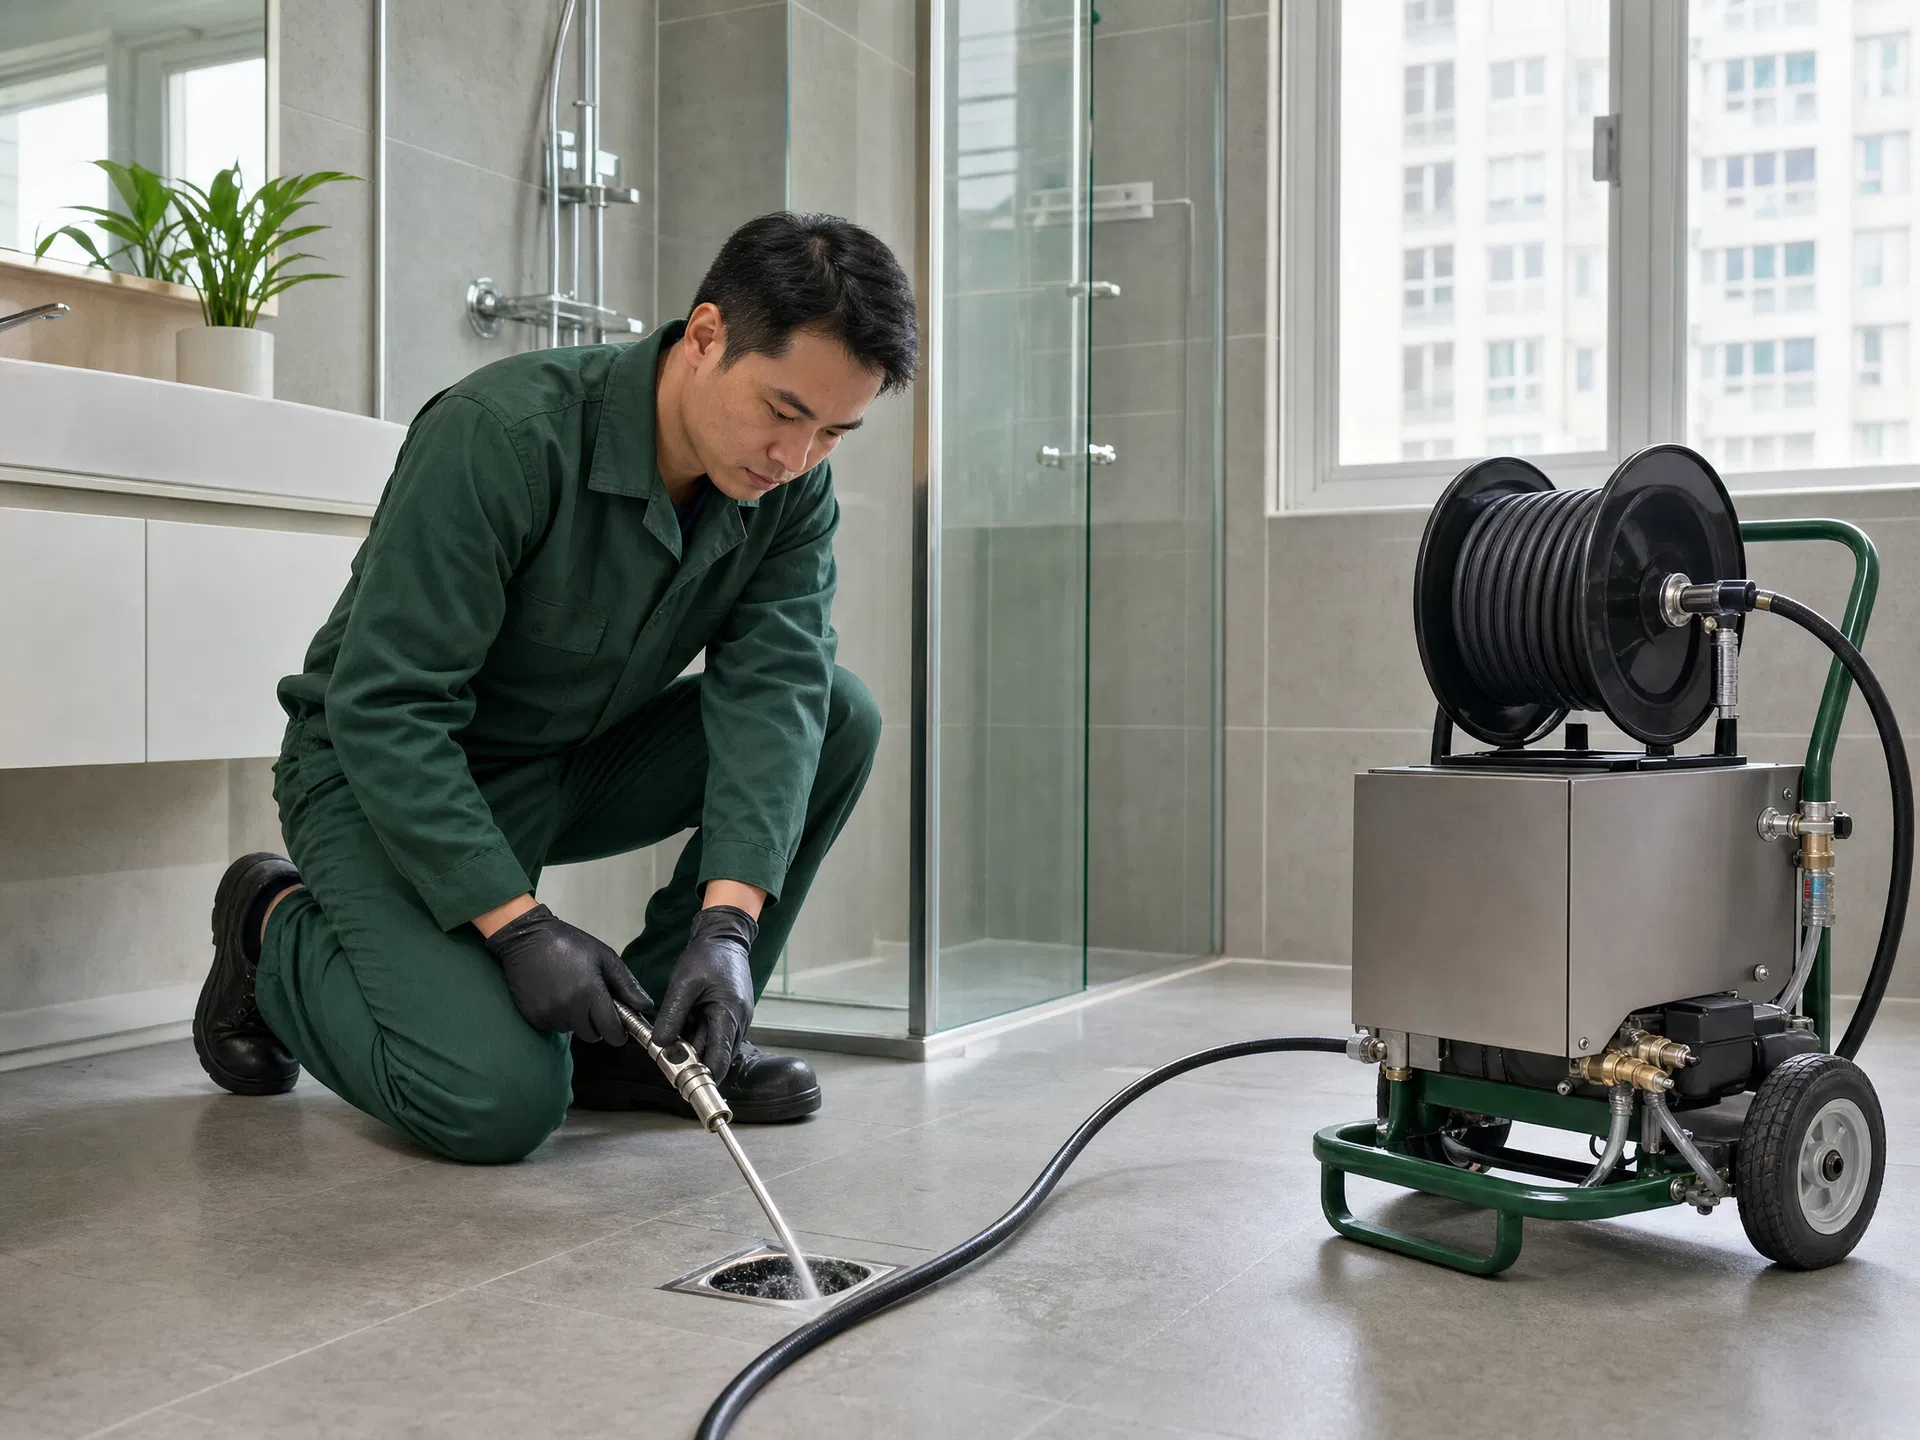
Common signs include: water stains or mould on walls, paint blistering or peeling, slippery floors, water marks on ceiling, and unusual musty smell. If you notice these, seek professional inspection promptly — FixNow provides professional leak detection services.